
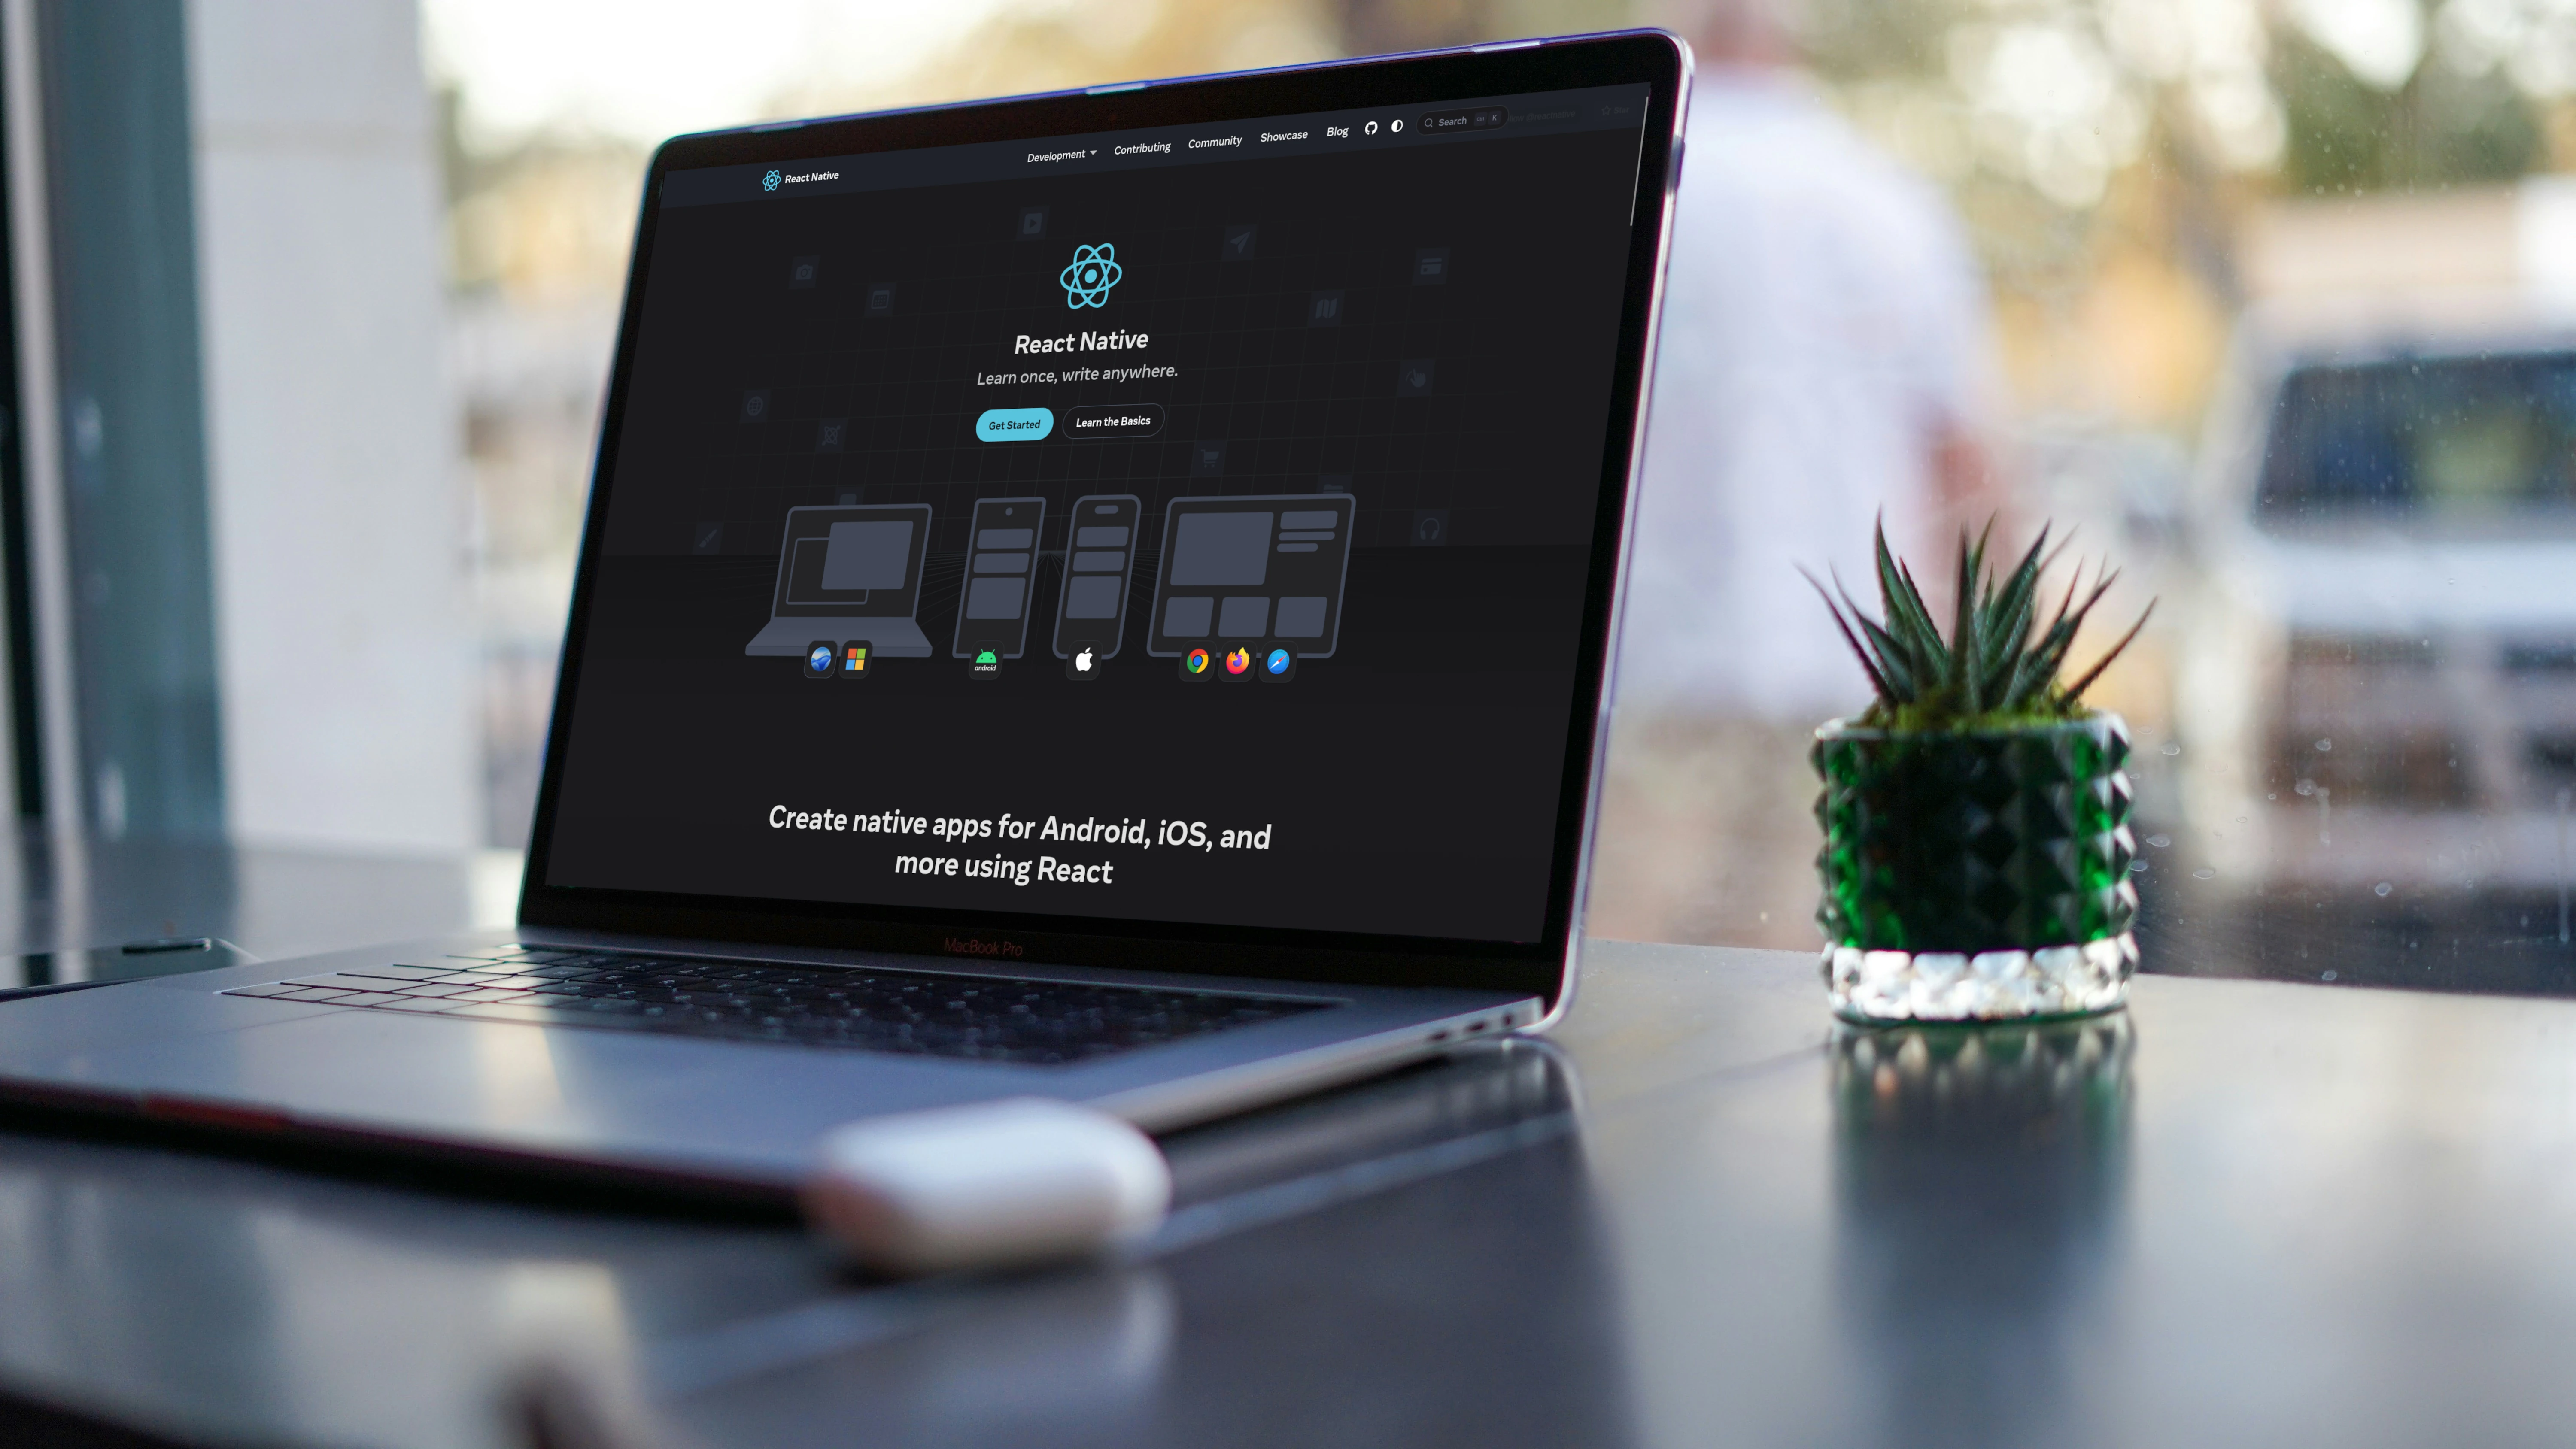
If you already know React and TypeScript, you’re 80% of the way to building native Android apps. React Native lets you leverage your existing web development skills to create performant, native mobile applications. This guide walks you through everything you need to know to get started.
Why React Native for Android?
React Native has become the go-to framework for cross-platform mobile development, and for good reason:
- Leverage Existing Skills - Use React components, hooks, and TypeScript knowledge you already have
- Native Performance - Components render using native Android UI primitives, not WebView
- Single Codebase - Share logic between Android and iOS (and even web)
- Fast Iteration - Hot reloading and fast refresh for rapid development
- Strong Ecosystem - Access to native modules and a vast community
Major companies like Facebook, Instagram, Airbnb, and Uber use React Native in production, proving it’s ready for enterprise-scale applications.
Setting Up Your Development Environment
1. Install Android Studio
Download and install Android Studio. During installation:
- Install Android SDK
- Install Android SDK Platform (API 34 or latest)
- Install Android Virtual Device (emulator)
- Install Intel HAXM (for faster emulation on Intel CPUs)
Configure environment variables:
# Add to ~/.bashrc or ~/.zshrc
export ANDROID_HOME=$HOME/Android/Sdk
export PATH=$PATH:$ANDROID_HOME/emulator
export PATH=$PATH:$ANDROID_HOME/platform-tools
export PATH=$PATH:$ANDROID_HOME/tools/bin
2. Verify Your Setup
adb devices  # Should list connected devices/emulators
emulator -list avds  # List available Android Virtual Devices
3. Create a New React Native Project
Using the recommended CLI:
npx @react-native-community/cli init MyAndroidApp --template react-native-template-typescript
cd MyAndroidApp
Or with Bun:
bunx @react-native-community/cli init MyAndroidApp --template react-native-template-typescript
cd MyAndroidApp
4. Run on Android Emulator
# Start Metro bundler
npm start

# In another terminal, run on Android
npm run android
Key Differences from React Web
1. No HTML Elements
Replace HTML tags with React Native components:
| Web | React Native |
|---|---|
<div> | <View> |
<span>, <p>, <h1> | <Text> |
<button> | <TouchableOpacity> or <Button> |
<img> | <Image> |
<input> | <TextInput> |
<ul>, <ol> | <FlatList> or <ScrollView> |
// Web React
<div className="container">
  <h1>Hello</h1>
  <button onClick={handleClick}>Click</button>
</div>

// React Native
<View style={styles.container}>
  <Text style={styles.heading}>Hello</Text>
  <TouchableOpacity onPress={handleClick}>
    <Text>Click</Text>
  </TouchableOpacity>
</View>
2. Styling with StyleSheet
No CSS files or class names. Use the StyleSheet API:
import { StyleSheet, View, Text } from 'react-native';

const styles = StyleSheet.create({
  container: {
    flex: 1,
    backgroundColor: '#fff',
    padding: 16,
  },
  text: {
    fontSize: 16,
    fontWeight: '600',
    color: '#333',
  },
});

export function MyComponent() {
  return (
    <View style={styles.container}>
      <Text style={styles.text}>Styled Text</Text>
    </View>
  );
}
Key styling differences:
- Use
flexboxby default (no need fordisplay: flex) - No CSS inheritance
- Units are density-independent pixels (no
pxsuffix needed) - Limited property support compared to CSS
3. Navigation: React Navigation
Web-style routing doesn’t exist. Use React Navigation:
npm install @react-navigation/native @react-navigation/native-stack
npm install react-native-screens react-native-safe-area-context
import { NavigationContainer } from '@react-navigation/native';
import { createNativeStackNavigator } from '@react-navigation/native-stack';
const Stack = createNativeStackNavigator();
function App() {
return (
<NavigationContainer>
<Stack.Navigator>
<Stack.Screen name="Home" component={HomeScreen} />
<Stack.Screen name="Details" component={DetailsScreen} />
</Stack.Navigator>
</NavigationContainer>
);
}Navigate between screens:
function HomeScreen({ navigation }) {
  return (
    <TouchableOpacity onPress={() => navigation.navigate('Details', { id: 123 })}>
      <Text>Go to Details</Text>
    </TouchableOpacity>
  );
}
4. Platform-Specific Code
Target Android specifically when needed:
import { Platform, StyleSheet } from 'react-native';

// Inline platform check
const styles = StyleSheet.create({
  container: {
    paddingTop: Platform.OS === 'android' ? 24 : 0,
  },
});

// Platform-specific imports
if (Platform.OS === 'android') {
  // Android-specific logic
}

// Platform file extensions
// Component.android.tsx - only for Android
// Component.ios.tsx - only for iOS
// Component.tsx - shared
Essential React Native Components
Core Components
import {
  View,           // Container (like div)
  Text,           // All text must be wrapped
  TextInput,      // Input fields
  TouchableOpacity, // Touchable buttons
  Image,          // Images
  ScrollView,     // Scrollable container
  FlatList,       // Performant lists
  ActivityIndicator, // Loading spinner
  SafeAreaView,   // Respects device notches
} from 'react-native';
Hooks You Already Know (Plus New Ones)
All React hooks work identically:
import { useState, useEffect, useCallback, useMemo, useRef, useContext } from 'react';React Native specific hooks:
import { useWindowDimensions, useColorScheme } from 'react-native';

function MyComponent() {
  const { width, height } = useWindowDimensions();
  const colorScheme = useColorScheme(); // 'light' or 'dark'
}
TypeScript in React Native
TypeScript works exactly as you expect. Create types for your components:
import { View, Text, TouchableOpacity } from 'react-native';

interface ButtonProps {
  title: string;
  onPress: () => void;
  disabled?: boolean;
  variant?: 'primary' | 'secondary';
}

export function CustomButton({ title, onPress, disabled = false }: ButtonProps) {
  return (
    <TouchableOpacity
      onPress={onPress}
      disabled={disabled}
      style={[styles.button, disabled && styles.disabled]}
    >
      <Text>{title}</Text>
    </TouchableOpacity>
  );
}
Type your navigation params:
type RootStackParamList = {
  Home: undefined;
  Details: { userId: string; name: string };
  Settings: undefined;
};

// Usage with typed navigation
function HomeScreen({ navigation }: NativeStackScreenProps<RootStackParamList, 'Home'>) {
  return (
    <TouchableOpacity onPress={() => navigation.navigate('Details', { userId: '123', name: 'John' })}>
      <Text>View Details</Text>
    </TouchableOpacity>
  );
}
Building a Simple Android App
Here’s a complete example - a counter app:
// App.tsx
import React, { useState } from 'react';
import {
  SafeAreaView,
  StyleSheet,
  View,
  Text,
  TouchableOpacity,
  StatusBar,
} from 'react-native';

interface CounterButtonProps {
  onPress: () => void;
  label: string;
  disabled?: boolean;
}

function CounterButton({ onPress, label, disabled = false }: CounterButtonProps) {
  return (
    <TouchableOpacity
      onPress={onPress}
      disabled={disabled}
      style={[styles.button, disabled && styles.buttonDisabled]}
    >
      <Text style={[styles.buttonText, disabled && styles.buttonTextDisabled]}>
        {label}
      </Text>
    </TouchableOpacity>
  );
}

export default function App() {
  const [count, setCount] = useState<number>(0);

  return (
    <SafeAreaView style={styles.container}>
      <StatusBar barStyle="dark-content" />
      <View style={styles.content}>
        <Text style={styles.title}>Counter App</Text>
        <Text style={styles.count}>{count}</Text>
        <View style={styles.buttonRow}>
          <CounterButton
            onPress={() => setCount(prev => prev - 1)}
            label="-1"
            disabled={count <= 0}
          />
          <CounterButton
            onPress={() => setCount(prev => prev + 1)}
            label="+1"
          />
          <CounterButton
            onPress={() => setCount(0)}
            label="Reset"
          />
        </View>
      </View>
    </SafeAreaView>
  );
}

const styles = StyleSheet.create({
  container: {
    flex: 1,
    backgroundColor: '#f5f5f5',
  },
  content: {
    flex: 1,
    justifyContent: 'center',
    alignItems: 'center',
  },
  title: {
    fontSize: 28,
    fontWeight: '700',
    marginBottom: 32,
    color: '#333',
  },
  count: {
    fontSize: 72,
    fontWeight: '300',
    marginBottom: 48,
    color: '#007AFF',
  },
  buttonRow: {
    flexDirection: 'row',
    gap: 16,
  },
  button: {
    backgroundColor: '#007AFF',
    paddingHorizontal: 24,
    paddingVertical: 12,
    borderRadius: 8,
  },
  buttonDisabled: {
    backgroundColor: '#ccc',
  },
  buttonText: {
    color: '#fff',
    fontSize: 18,
    fontWeight: '600',
  },
  buttonTextDisabled: {
    color: '#666',
  },
});
Debugging and Development Tools
1. Metro Bundler
The JavaScript bundler that serves your code to the app. Keep it running during development.
2. React Native Debugger
# Enable debugging
# Shake device or press Cmd+D (iOS) / Ctrl+M (Android)
# Select "Debug" to open Chrome DevTools
3. Flipper
Advanced debugging tool for React Native:
npm install -g react-native-flipperFeatures:
- Network inspection
- Database viewer
- Layout inspector
- Console logs
4. Common Debug Commands
// Reload app
// Android: Ctrl+M → Reload

// Enable Hot Reload
// Shake device → Enable Hot Reload

// Open Dev Menu
// Android: Ctrl+M or adb shell input keyevent 82
Accessing Native Android Features
1. Camera
npm install react-native-vision-camera2. Location
npm install @react-native-community/geolocation3. Storage
npm install @react-native-async-storage/async-storageimport AsyncStorage from '@react-native-async-storage/async-storage';
// Save data
await AsyncStorage.setItem('@key', 'value');
// Retrieve data
const value = await AsyncStorage.getItem('@key');4. Permissions
Android requires runtime permissions. Use react-native-permissions:
npm install react-native-permissionsimport { check, request, PERMISSIONS, RESULTS } from 'react-native-permissions';
async function requestCameraPermission() {
const result = await check(PERMISSIONS.ANDROID.CAMERA);
if (result === RESULTS.DENIED) {
const granted = await request(PERMISSIONS.ANDROID.CAMERA);
return granted === RESULTS.GRANTED;
}
return result === RESULTS.GRANTED;
}Building for Production
1. Generate a Signed APK
cd android

# Generate keystore (first time only)
keytool -genkey -v -keystore my-release-key.keystore -alias my-key-alias -keyalg RSA -keysize 2048 -validity 10000

# Configure gradle.properties
MYAPP_UPLOAD_STORE_FILE=my-release-key.keystore
MYAPP_UPLOAD_KEY_ALIAS=my-key-alias
MYAPP_UPLOAD_STORE_PASSWORD=*****
MYAPP_UPLOAD_KEY_PASSWORD=*****

# Build release APK
./gradlew assembleRelease
2. Build Android App Bundle (for Play Store)
cd android
./gradlew bundleRelease
Output: android/app/build/outputs/bundle/release/app-release.aab
3. Optimize Your App
// Enable ProGuard in android/app/build.gradle
def enableProguardInReleaseBuilds = true

// Use Hermes engine (enabled by default in new versions)
// Better performance and smaller app size
Common Pitfalls and Solutions
1. Text Must Be Wrapped
// ❌ Wrong
<View>Hello World</View>

// ✅ Correct
<View><Text>Hello World</Text></View>
2. Flexbox Defaults
// React Native defaults to flexDirection: 'column'
// Explicitly set for row layouts
<View style={{ flexDirection: 'row' }}>
3. Image Dimensions
// ❌ May not render without dimensions
<Image source={require('./image.png')} />

// ✅ Specify dimensions
<Image source={require('./image.png')} style={{ width: 100, height: 100 }} />
4. Keyboard Handling
import { KeyboardAvoidingView, Platform } from 'react-native';

<KeyboardAvoidingView
  behavior={Platform.OS === 'ios' ? 'padding' : 'height'}
  style={{ flex: 1 }}
>
  {/* Your form inputs */}
</KeyboardAvoidingView>
Recommended Project Structure
src/
├── components/          # Reusable UI components
│   ├── Button/
│   │   ├── Button.tsx
│   │   ├── Button.styles.ts
│   │   └── Button.types.ts
│   └── Card/
├── screens/             # Screen components
│   ├── HomeScreen.tsx
│   └── DetailsScreen.tsx
├── navigation/          # Navigation configuration
│   └── AppNavigator.tsx
├── hooks/               # Custom hooks
│   └── useAuth.ts
├── services/            # API calls, external services
│   └── api.ts
├── store/               # State management
│   └── store.ts
├── types/               # TypeScript type definitions
│   └── index.ts
├── utils/               # Utility functions
│   └── helpers.ts
└── assets/              # Images, fonts, etc.
Essential Libraries
| Category | Library |
|---|---|
| Navigation | @react-navigation/native |
| State Management | zustand, redux-toolkit, or React Context |
| HTTP Client | axios, tanstack-query |
| Forms | react-hook-form, formik |
| Validation | zod, yup |
| Icons | react-native-vector-icons |
| UI Components | react-native-paper, native-base |
| Animations | react-native-reanimated |
| Testing | jest, @testing-library/react-native |
Testing Your App
npm install --save-dev @testing-library/react-native jest// __tests__/Counter.test.tsx
import { render, fireEvent } from '@testing-library/react-native';
import App from '../App';
describe('Counter App', () => {
it('increments counter on button press', () => {
const { getByText } = render(<App />);
const incrementButton = getByText('+1');
fireEvent.press(incrementButton);
expect(getByText('1')).toBeTruthy();
});
});Run tests:
npm testNext Steps
- Build a Real App - Start with a simple project to apply what you’ve learned
- Learn Native Modules - Understand when and how to write native Android code
- Master Animations - Explore
react-native-reanimatedfor smooth UI - Optimize Performance - Learn about memoization, FlatList optimization, and bundle splitting
- Publish to Play Store - Follow Google’s guidelines for app submission
Resources
- React Native Documentation
- React Navigation
- Android Developer Guide
- React Native Directory - Find libraries
- r/reactnative - Community
Conclusion
Your React and TypeScript skills transfer directly to React Native Android development. The main adjustments are:
- Different components (View, Text, TouchableOpacity instead of div, span, button)
- StyleSheet instead of CSS
- React Navigation instead of React Router
- Platform-specific considerations for Android
Start building today. Create a new project, run it on an emulator, and iterate. The learning curve is gentle, and you’ll be shipping native Android apps faster than you think.
Pro Tip: Combine React Native with Expo for an even smoother development experience. Expo provides pre-configured native modules, over-the-air updates, and simplified deployment, making it perfect for rapid prototyping and smaller projects.
Happy coding! 🚀
Member discussion
0 commentsStart the conversation
Become a member of >hacksubset_ to start commenting.
Already a member? Sign in